How to change a solenoid valve armature assembly.
During normal maintenance procedures or when a solenoid valve fails, engineers may need to disassemble the solenoid valve, check and or replace the solenoid valve armature assembly.
Here are some simple guidance steps on how to change a solenoid valve core tube or armature assembly or simply convert a 2/2 way normally closed (failsafe closed) solenoid valves into a 2-way normally open (failsafe open) solenoid valve.
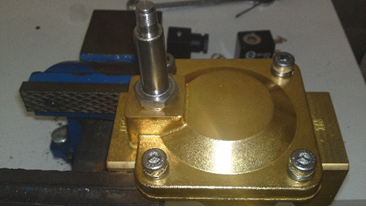
1. Isolate the solenoid valve, turn off and drain pipework system and secure the solenoid valve safely.
2. Isolate and remove the electrical power supply and electrical DIN connector.
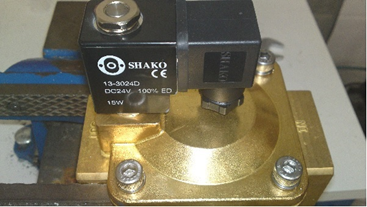
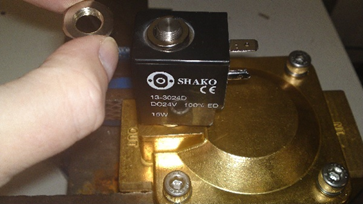
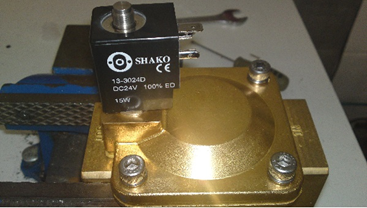
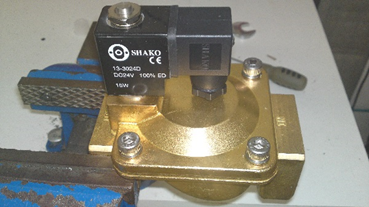
Remove the coil retaining nut and washer, put carefully to one side.
Lift the solenoid coil off the armature tube assembly.
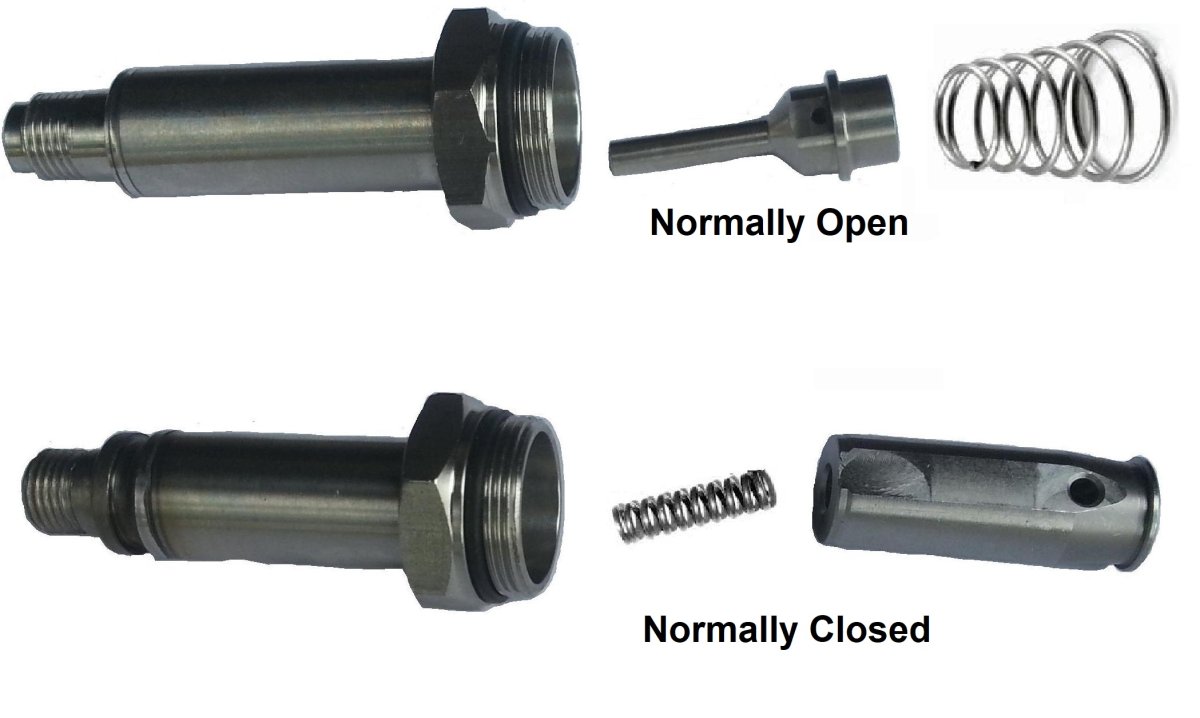
3. In this picture, we show two types of solenoid armature assembly.
The top is a 2/2 way normally open core tube assembly, (Spring open)
The bottom is a 2/2 way normally closed core tube assembly.(Spring closed)
In many cases, the function of a solenoid valve can be changed from normally closed (fail-safe closed) to normally open (fail-safe open) simply by changing the armature assembly and vice versa.
4. If the solenoid valve is still fitted to the pipework - Check that there is no system pressure, as any residual pressure or media will escape at this point.
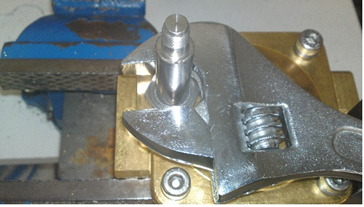
Using a spanner (typically 22mm) remove the armature assembly for the solenoid valve (turn anti-clockwise).
5. Carefully install the new armature assembly, taking care not to cross the threads, as this can damage the solenoid valve housing and prevent external sealing.
Make sure all the internal parts are installed correctly.
6. Replace the solenoid coil onto the tube.
7. Replace the coil retaining washer and locating nut and tighten carefully.
Do not over tighten.
Tighten by hand, then use spanner and give 1 full turn of locking nut. Make final checks that no parts have been missed during the installation process.
Install the solenoid valve back into the pipework and open the isolation valves and check for leaks. If no leaks are found, reconnect the electrical power supply and energise the solenoid valve.
Check for noise, humming or overheating and if there are concerns isolate the power supply, close the isolation valves and consult your solenoid valve supplier.
Reinstall electrical connector.
Solenoid Armatures → View Products
Solenoid Coils → View Products